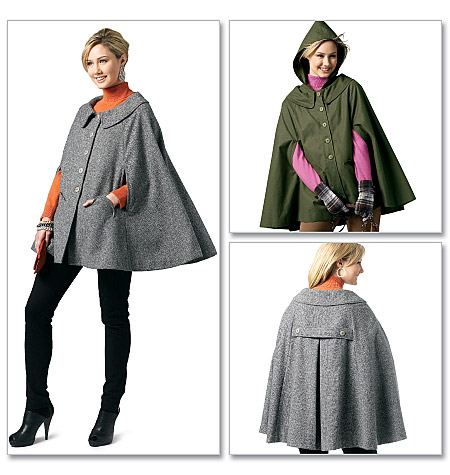
Here is cape number two, sewn using McCall's 6446, and I am rather proud of it. This is for my mom, and it looks good on her!
 |
| Front view (omitted pockets) BUT CHECK OUT THAT PRINT MATCHING AT THE CENTER FRONT |
 |
| Back view (omitted buttons on belt) |
I love the raglan cut of the pieces. It's very flattering and falls around the bust in the same way a top or dress would, that way the cape doesn't just look like a fancy sack. The fabric I used is a loose woven that softened considerably after I washed it. I avoided matching the print too much because I didn't want my mom to look like those drapes from The Sound of Music.

I mean, I know we all love some Julie Andrews, but olive damask drapes? No thanks. (Sorry, Julie.)
 |
| Side view |
The Pattern - McCall's 6446
My Changes:
- omit front pockets (they look dumb and are placed stupidly)
- omit back buttons
- raise neckline by one inch all the way around (required me to redraft the collar pieces)
- lower welt openings by 1.5 inches (cause my momma has long arms)
- draft a lining
- draft inside collar band to hide rough edges
Here are some photos of the inside of the cape I made.
 |
| Front facing and lining |
 |
| Back yoke, inside collar band, lining pieces. |
You can really see the raglan lines in the picture above. There are also two darts at the top of each shoulder to help narrow the fit.
 |
| shoulder darts, collar band, raglan seams |
It's a bit erroneous to call that strip of fabric a "collar band." It's way less precise than that. I probably messed up my additions of a lining, since I had to begin and finish this cape in less than a week in order to have it ready for Christmas (EEEEEEK). But, I was attaching the collar and realized I was going to have a problem with the unfinished edges. So, I grabbed a piece of scrap fabric and attached it.
Here's a rough step-by step.
1. Figure out how much ya need by laying the cape out flat and placing the extra fabric on top of the neckline seam. Eyeball it.
2. You want to sew this piece of scrap fabric to the collar side of the neckline seam, not the lining side. You'll attach the piece just inside the seamline. In the photo below, it will be just inside the visible line of stitching.

3. Press the band to the inside towards the lining. You can decide how wide you want the band to be. I went for 3/4" and wanted to turn in 1/4" under for a pretty finish, so I trimmed the band piece to where it was one inch all the way around, pressed under the quarter-inch, then pinned and stitched in place near the folded edge.
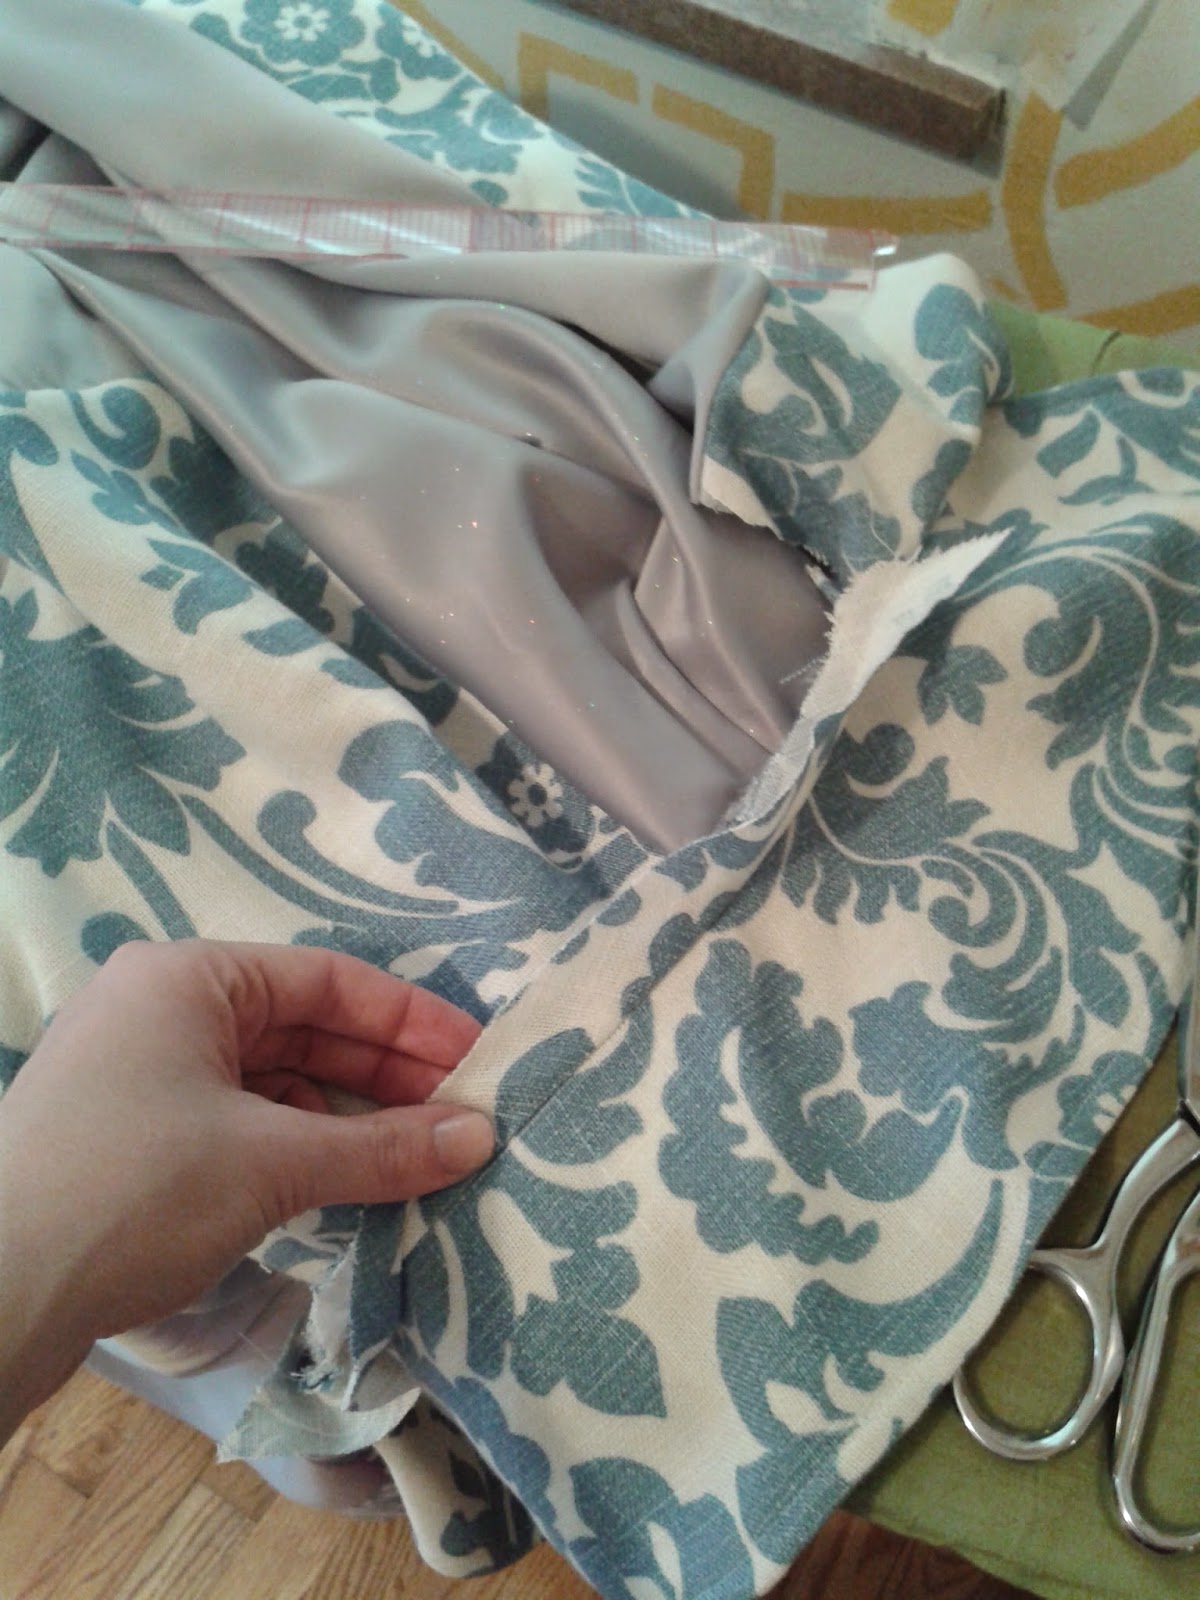
You can't see the stitching from the outside because the collar covers it. But it looks great on the inside, right??
But, I gotta work on my welt openings. They look ok from the outside, but the inside is rather nasty. That's as close of a picture as you're gonna get, cause I beez ashamed of my welt pockets. :(

Regardless of the sadness of the welts, the buttons are amazing.

I'm pretty sure buttons make the world a better place. They close our shirts, they hold up our pants, and their delightful variation makes weirdos like me really happy.
Hopefully my mom will send me a photo of her in her cape so I can add it to this post!