 |
| Finally!! A picture outside! |
Here she is on the dress form...

And here's a close-up of the best part - the belt! (aka midriff, as it's all sewn onto the dress)

The pattern
For this dress I used Simplicity 1607, a Cynthia Rowley design. In all honesty, I wouldn't be attracted to this pattern normally; but, I couldn't resist once I saw how wonderfully fitted the model's dress is. Look at it! It's perfect! Those fancy straps don't look too loose or too tight. Imagine! I could have fancy straps!
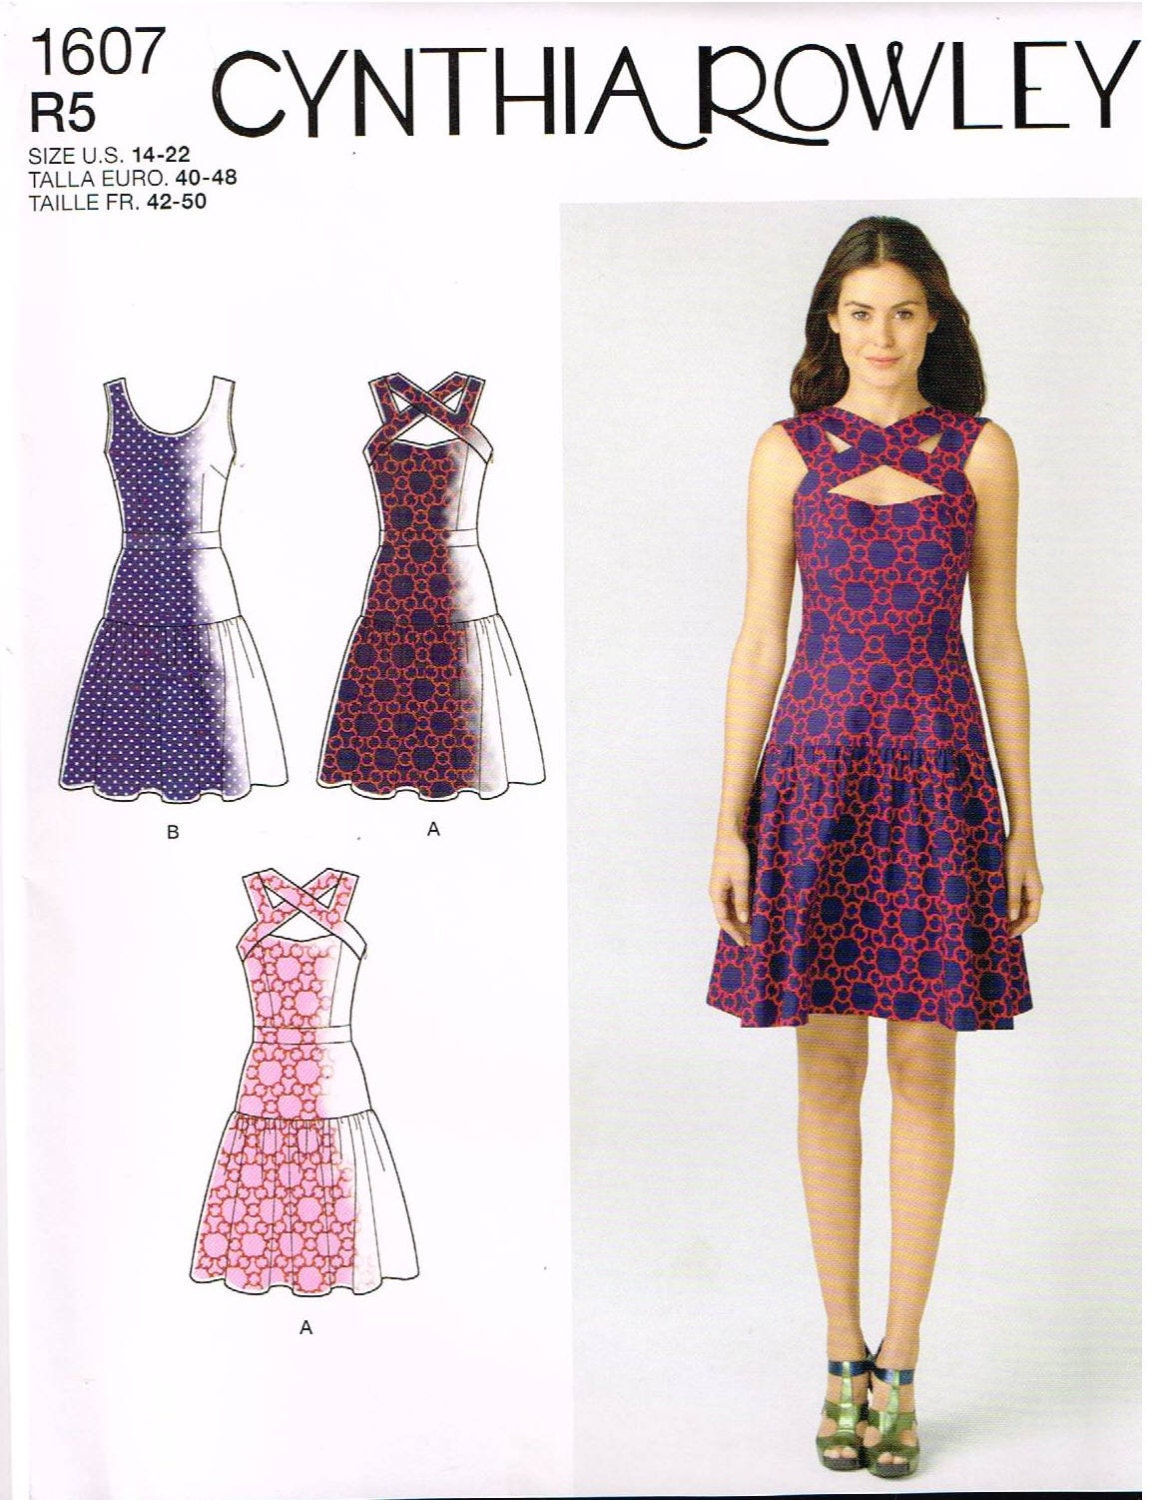
But. Once I decided I wanted to try a fancy beadbutton midriff I figured fancy straps would have been over the top, so for this go-round I opted for the simple scoop neck of View B. Surprisingly, I had to do very little to the pattern in regards to fitting. I added length to the bodice (a standard for me), and lowered the armholes, as they seemed too high. Don't know 'bout you, but I CAN'T STAND IT when my clothes fit too tightly in the armpit. It makes me unbelievably cranky.
Here's a front bodice piece so you can see my adjustments.

I used tailor tacks throughout construction. Tailor tacks are my new favorite sewing thing.

Yep. It's wrinkled. So sorry.
General construction
 |
| Next time I think I'll go for a V and leave out the strappies |
(Geez...my shoulders look massive.) Not too surprising, as I'm a deltoid/tricep enthusiast. Moving on...
I followed the directions as they were laid out. I did notice a mistake in one of the diagrams, but at the moment it escapes me. But be warned! It's there! The directions did not mention understitching the neckline facings, which I found preposterous, so I understitched mine with sensible defiance and bit my thumb at the pattern maker-person.
The zipper is on the left side. The design calls for an invisible zipper, but I imagined with my beads and buttons that I'd have an issue, so I instead went for a lapped zipper insertion. Take a look:

In case you're wondering, I did not put all of the buttons on before inserting the zipper. I added most of them, but left about 2 inches open on either side of the zipper so I could easily maneuver. Once I was happy with how the zipper looked I added the last of the buttons and beads.
And on that note...
Adding beads and buttons
It took a little bit of thinking ahead to make adding decorations easy. The first thing I did was sew the midriff facing to the bodice before the directions said to, as I was quite certain that trying to do that AFTER the buttons were added would be torture. I also graded the seams.

Didn't worry about finishing those seam allowances. They be's hidden once all is said and done.
I carefully pinned the midriff pieces straight and in place, so that once I was adding "bling" I didn't have to worry about catching facing in with my bodice. Here's the piece from the outside.

I knew I wanted to use buttons of different sizes and colors, and place them "randomly" on the dress. But, I also didn't want hundreds of buttons sitting on my coffee table waiting to go flying. I don't have a cat, but I have myself, and sometimes I'm clumsy. So! Here was my solution!

I put a 6" piece of packaging tape sticky side up on the table and then secured it with two smaller pieces.
This way, I could create segments of the "random" design on the tape and then transfer that to the dress without worrying that I'd forget what it looked like.
Here's the same picture without flash and from a slightly different angle.

By using the tape I only had to pour out a few buttons at a time. Phew!
I'm glad the buttons were assorted sizes, as it helped me fill in the nooks and crannies between them.
I started sewing at the top of the midriff and worked my way down to about half an inch from the lower seamline so I could have maneuvering room when I added the skirt yoke. Once I attached the skirt and added the zipper, I filled in the missing spaces with buttons and beads. The only difference I made between the two was that I knotted the thread after each bead insertion. I could just imagine the thread breaking and then losing all these beads. But, since each one is individually knotted, I'll only lose one or two if that ever happens.

Overall, I'm really happy with this dress. It's really comfortable, and I even played a Sunday church service in it without the bodice EVER feeling too tight, which is often a problem for me. Can't play the marimba or the piano without movin' your arms!!
Though I at first worried that the yoke/ruffle combo would make me look frumpy, I think it turned out ok in the end. Maybe next time I'll just put a simple A-line on the bottom, especially if I do some crazy decorative thing on the midriff again!
 |
| Husband made fun of the pot. I think it's precious. |
But in all seriousness, don't you think a swingy silhouette with a totally beaded belt would be marvelous?? Oh wait...
Well played, Dirty Dancing, well played.

Lovelovelove